Clean product photos, transparent logos, and social media graphics are expected everywhere online today. However, many website owners and small businesses still believe image editing requires Photoshop, design skills, or expensive apps. In reality, modern browser tools have changed the workflow completely.
Table of Contents
- Why Background Removal Matters for Websites and SEO
- What “Online Background Removal” Actually Means
- When You Should Remove an Image Background
- Step by Step: Remove a Background in 30 Seconds
- Step 1: Prepare the Image
- Step 2: Open the Online Background Remover
- Step 3: Upload the Image
- Step 4: Review the Result
- Step 5: Download the Transparent Image
- What to Do After Background Removal
- Convert the File
- Compress the Image
- Resize Before Uploading
- Real Benefits After Background Removal
- Best Image Formats After Background Removal
- PNG
- WebP
- JPG
- Practical Use Cases
- Ecommerce Stores
- Blog Graphics
- Social Media Creators
- Business Branding
- Common Mistakes to Avoid
- Uploading Dark, Blurry Photos
- Not Resizing Images
- Saving Only as PNG
- Recompressing Multiple Times
- Helpful Related Articles
- Security and Privacy
- FAQ: Quick Answers
- Can I remove a background without Photoshop?
- How long does it take?
- What file type will I get?
- Does it reduce image quality?
- Is it safe to upload personal photos?
- Why is my result not perfect?
- Should I compress after background removal?
- Can I use the image on my website header?
- Final Thoughts
A background can now be removed automatically in seconds. No installation is required, no signup is needed, and the result can be published immediately.
This guide explains exactly how background removal works, when it should be used, and how to do it correctly using a simple web process that anyone can follow.
Why Background Removal Matters for Websites and SEO
Images are not just decorative anymore. They influence:
• click through rate
• product trust
• mobile usability
• page speed
• visual clarity
A cluttered image background distracts users. A clean subject, placed on a transparent background, is easier to view and easier to reuse across pages.
Search engines also prefer clean visual presentation. Pages with clear imagery tend to keep visitors longer. When users stay longer, engagement signals improve.
Common uses include:
• ecommerce product photos
• YouTube thumbnails
• blog feature graphics
• profile pictures
• logos for website headers
Without removing the background, a single image often cannot be reused in multiple places. After background removal, the same image can be placed on any colour or layout.
What “Online Background Removal” Actually Means
Instead of manually tracing around an object, modern tools detect the subject automatically. An artificial intelligence model identifies:
• edges
• contrast differences
• depth
• object outlines
Then the background area is separated from the foreground subject. The unwanted background pixels are deleted and transparency is created.
The final image is exported as a PNG or WebP with a transparent background.
No design knowledge is required because the selection process is automated.
When You Should Remove an Image Background
Background removal should be used when the subject matters more than the surroundings.
Good candidates:
• products for online stores
• headshots
• logos
• isolated objects
• promotional graphics
It should not be used for:
• landscape photography
• travel photos
• artistic backgrounds
Those rely on context and atmosphere.
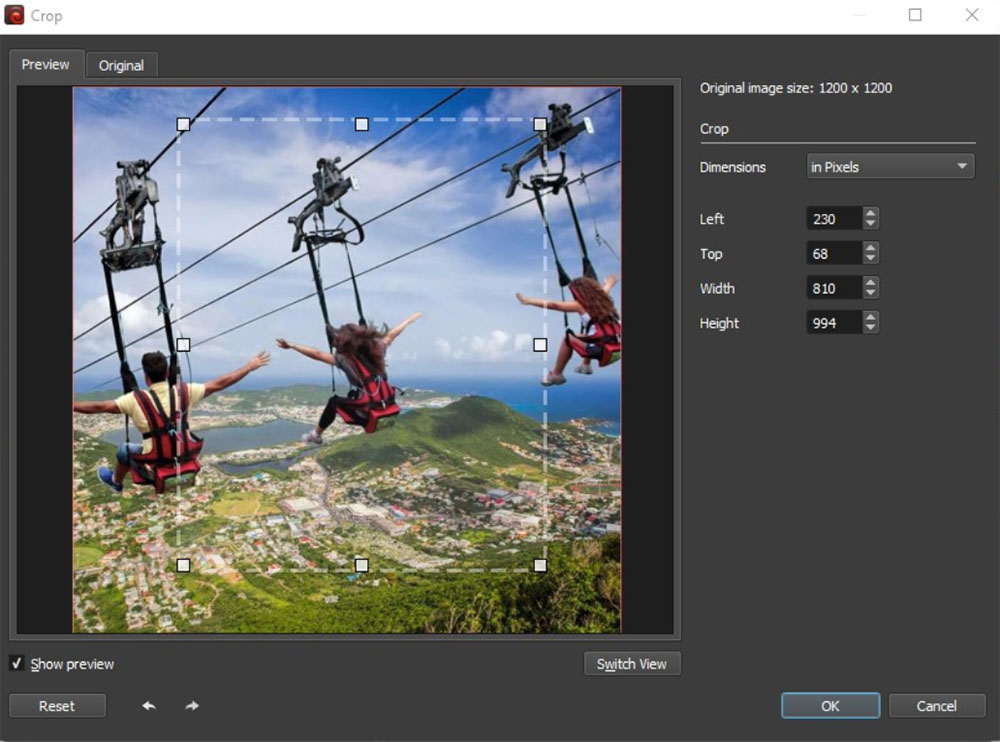
Step by Step: Remove a Background in 30 Seconds
The process below is the simplest and safest workflow.
Step 1: Prepare the Image
Better results are achieved when:
• the subject is clear
• lighting is good
• the subject contrasts with the background
Phone photos work well. Professional cameras are not required.
Step 2: Open the Online Background Remover
Then open the automatic background remover tool.
The tool works directly in the browser. Files are processed securely and automatically deleted after completion.
Step 3: Upload the Image
Click Upload and select your photo.
Within seconds the image is analysed. No settings need to be adjusted.
The subject is detected automatically and the background is removed.
Step 4: Review the Result
The preview should be checked carefully:
• hair edges
• fine details
• transparent areas
If needed, a different photo with better lighting can be uploaded. Usually the first result is accurate.
Step 5: Download the Transparent Image
Click Download.
The image will be exported as a transparent PNG.
No watermark is added and no account is required.
You now have a reusable image that can be placed on any website design.
What to Do After Background Removal
Removing the background is only part of optimisation. The file should also be prepared for web performance.
Convert the File
PNG transparency is useful, but PNG files can be large.
After download, convert the image using the
online image format converter on EveryImage.com.
Exporting to WebP with transparency keeps quality while reducing file size dramatically.
Compress the Image
Next, reduce file size using the
free image compressor tool.
Balanced compression is recommended. Visual quality remains intact while loading speed improves.
For detailed instructions see:
How to compress images without losing quality on EveryImage.com
Resize Before Uploading
A website rarely needs a 4000px wide image.
Resize to:
• 1200px for blog images
• 800px for product images
• 400px for thumbnails
Use the browser based image resizer tool to do this instantly.
Real Benefits After Background Removal
After applying the workflow above, several improvements are typically noticed:
• clearer product listings
• better social media engagement
• faster page speed
• improved mobile display
The same image can be used on a white background, dark background, banner, or thumbnail without redesign.
Best Image Formats After Background Removal
PNG
Best for editing and retaining transparency.
WebP
Best for publishing on websites. Smaller size and faster loading.
JPG
Not recommended because transparency is lost.
A helpful explanation of modern image formats can also be found in the image format documentation provided by the Mozilla developer web documentation.
Practical Use Cases
Ecommerce Stores
Products appear professional. White backgrounds are often preferred by marketplaces.
Blog Graphics
Feature images look cleaner and attract more clicks.
Social Media Creators
Thumbnails stand out more clearly in feeds.
Business Branding
Logos can be placed on any colour background without redesign.
Common Mistakes to Avoid
Uploading Dark, Blurry Photos
AI detection struggles when contrast is poor.
Not Resizing Images
Large transparent PNG files can slow pages.
Saving Only as PNG
WebP is usually better for publishing.
Recompressing Multiple Times
Always compress from the original export.
Helpful Related Articles
You may also find these useful:
• JPG vs PNG vs WebP vs SVG, which image format should you use and when
• How image compression improves website loading speed
• Best image sizes for blog posts and featured images
• How to convert images online without installing software
These guides together create a complete image optimisation workflow.
Security and Privacy
Online tools often raise privacy concerns. A safe workflow includes:
• encrypted transfer
• temporary processing
• automatic file deletion
• no account storage
EveryImage.com processes files temporarily and removes them after completion, so uploaded images are not stored.
FAQ: Quick Answers
Can I remove a background without Photoshop?
Yes. A browser based tool can detect and remove the background automatically.
How long does it take?
Usually under 30 seconds.
What file type will I get?
A transparent PNG, which can later be converted to WebP.
Does it reduce image quality?
No. Only the background pixels are removed.
Is it safe to upload personal photos?
It is safe when files are encrypted and automatically deleted after processing.
Why is my result not perfect?
Low contrast images or shadows can make edge detection harder.
Should I compress after background removal?
Yes. Compression improves page speed and SEO performance.
Can I use the image on my website header?
Yes. Transparent images are ideal for headers and banners.
Final Thoughts
Background removal has evolved from a design task into a publishing step. It is now as routine as resizing an image before upload. When the subject is isolated, images become flexible, reusable, and visually cleaner.
Combined with resizing, conversion to WebP, and compression, a simple image can be transformed into a fast loading, professional visual asset. Over time, these small improvements help pages load faster, improve engagement, and support consistent search visibility.
Instead of treating image editing as a specialist activity, it should be included in every publishing workflow. Once familiar, the process takes less than a minute and delivers lasting benefits.